Showing posts with label how to. Show all posts

Monday, November 25, 2013

Screenwriting Tips for Newbies

So, I have been writing screenplays for 10 years now. Over that period of time I’ve written about 12 finished ones, about 20 unfinished and about 7 pilots for television series and numerous short-films. The majority of those scripts have not been sold and that is the reality of business nowadays.

If you think that you can write a screenplay and get easy money out of it, you’re wrong, so wrong. Don’t even try to write a screenplay just because you want to get some money right now. That is not gonna happen, well 99% that it’s not gonna happen unless you are the luckiest son of a bitch on a planet.

I by no means consider myself a bonified professional but I have learnt a few things over the years and I would like to share. I’ve been working with a lot of newbies lately and read a lot of their scripts and they all have about the same list of mistakes.

So, if you think that writing is your calling and you’re sure 100% you want to do that then here is the process:

1. You need to come up with an idea.

There are lots of things that can be inspirational. I, for one, am a lover of science fiction and watching other sci-fi movies inspires me to write something of my own. Do not think about copy-catting, that is not what I mean. I mean try to get inspired by the idea and re-work it in your own style. One way or another you will end up with a completely different thing.

Sometimes dreams can provide some hint of what you want to write about or sometimes it’s something you might see on the street. So keep your eyes open and watch, watch the world around you and notice interesting things.

2. Once you have found the right idea you would be feeling a fire inside of you. You would become extremely excited about it and determined so much that your hands will start sweating. Good, but there is a ‘but’.

What you should do right now is sit down and write down a log-line (a short description of your idea in a couple of sentences) or a synopsis (a longer description, more detailed, no more than one page though) or get to writing the first couple of pages of the script itself.

You should do that just to get the steam out, get it all on paper and relax a little. That is very important. After you have done that go chill with your friends and have some time away from computer\paper. Give it a couple of days and only after that return to what you have written and read it.

What do you feel right now about your idea? Is it still that good and captivating and exciting? If it is then great! But most of the time you will find yourself thinking that it sounds somewhat weaker than it did before. You might not even like it all that much now. And that is a pretty good indicator to go looking for something else because that is exactly how everybody else is going to be seeing your idea. The initial fire is just a fire inside your head and it is most likely to flame out in a couple of days. If that happens then you are not gonna be able to pull it through. So don’t try to force it and go look for something else. You will find a much better idea I promise.

3. Once the right idea have been found and you’re confident about it, think it through. Right now is the best time to use your imagination and energy to see your idea come to life. Try to visualize scenes on the cinema screen. Just dream about what it would be like. Put it down on paper as brief notes.

Remember that you shouldn’t mix too many things together in one movie. Don’t try to integrate Matrix into Star Wars and add some vampires to it. It sounds crazy but oddly that is exactly what the newbies do. They mix different topics together and think that it is very cool. It’s not.

If you want to write about the vampires do so but don’t try to add time travel to it. Those are completely different things. I’m not saying that it can’t be done period. No, the professional screenwriters can do that because they are professionals and they feel the balance that is needed to be kept between the elements of the story. Newbies don’t. So just pick one thing.

You still need to learn first.

4. Now you are good to go and get started with the script.

First thing to do is to write the log-line and synopsis if you haven’t’ done it before and if you have then edit it. It is important and most newbies skip that step because of laziness and because they don’t understand how to do that but you must do that. At least write down the log-line.

It is important to begin giving your idea the structure.

5. The 3-act structure.

Don’t even try to walk away from it. You MUST use the 3-act structure or else you will fail, you will bite the dust.

It is not that hard really.

Everything starts with the BEGINNING… That is about 20 first pages of your script where you set the story. You let the reader\viewer get to know the main characters and locations and what kind of life they have.

DON’T a lot of action here. If you want to add some action opening scene then do it later. First set the story. Slowly and carefully let us know about your characters, let us relate to them.
Something interesting starts happening here, some clues of the things to come but only the hint not the things themselves.

PIVITOL POINT 1… That is an event that changes your hero’s life forever and from this point he\she cannot go back. This part is somewhat about 30-40 pages.

Say you hero gets bitten by a vampire and undergoes transformation himself. He cannot undo it and from now on he has to figure out how to deal with it.

He tries to solve his problem and does everything he thinks is appropriate but fails UNTIL…

PIVITOL POINT 2… That is the point where your hero finds out the right way to deal with his problem and does so. That is also about 30-40 pages long.

Say your vampire hero finds out who the head vampire is and how to kill him. And he proceeds to doing exactly that.

THE END… That is after your hero has dealt with the situation and resolved his\her problem. That part is about 5-10 pages long.

The head vampire is killed and the hero is again human. He and his girlfriend reunite and are happy again. The end J

That structure is gonna let you build your story logically and so that other people will understand it and not just you. We are writing for other people, aren’t we?

So structure your scene\notes along the lines of this example and you can also write a synopsis at this point for reference during the writing process.

6. Begin writing the script.

You can write in MS Word or use any other professional software. I prefer Final Draft.

Before you do and as you’re doing so, please read as much screenplays as possible, professional screenplays of the movies that are already made. That will give you the idea of how scripts are written and the more you will read the more your brain will understand how it is done the right way. You can find some of the scripts here http://www.simplyscripts.com/movie.html

After you’re done with the script, be prepared to put twice as much work into trying to get it sold and finding a producer or production company for it. And also be prepared to receive a lot of criticism and a lot of rejections. I will cover the topic of rejections later on and the topic of what to expect from your first movie deal if you’re gonna be lucky to get one.

Here is what all the efforts are for, to see your idea out there, coming to life, coming to film.  


My screenplay at the table readings
Actors reading the script
Getting ready for shooting

My name in the credits


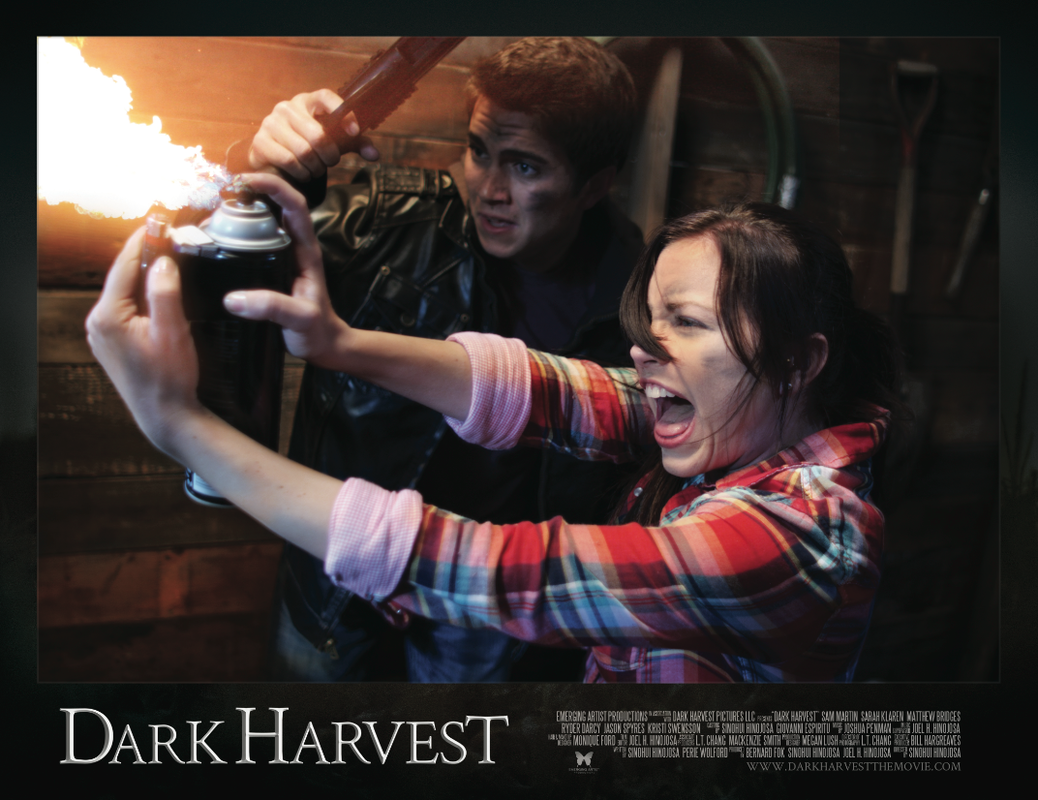
Check out the trailer for Dark Harvest Movie at darkharvestthemovie.com


If you have any questions ask me in the comments section.

I hope I helped.

Yours,
Perie


How to create a book cover yourself

So, you have finished your book and you are about to get it published or self-published. The first most important thing about your book is the cover. 

Some might think that it’s the blurb but let’s not kid ourselves (with publishers that might be the blurb but not with the actual readers). The first thing people are going to look at is the cover.

And if the cover sucks then no matter how good the blurb is, the chances of getting someone interested are gonna be slim.

That is because it is easier for a person to take in the visual information rather than the text. So if you want to make a good first impression with your book then you’re gonna have to come up with a great cover. Here are some of my cover works (Presence novel, Beta novel). 

Unless you have a lot of money to spare and can afford to hire a good professional artist, or you’re singed with a big publisher like Harper Collins, you will find yourself choosing between the cover that your publishing house’s art department is gonna come up with (and let’s be honest, most of them are not gonna listen much to your ideas and opinions about it) or the cover that you would make yourself.

Yes, sometimes the art department guys manage to come up with a great cover but that doesn’t happen too often and you should be prepared to not liking their version all that much. And that is a big problem because later on when you’re marketing your book you’re gonna have to feel 100% confident about it. And if you’re gonna lack the confidence then you will not be able to push it as hard as you need to push it and show it to as many people as possible.

Besides, who else might know your book better than you do? Who else would be able to come up with a design that would represent your idea in the right light but you? You’re the creator so why not go all the way and create the cover yourself. 

The task isn’t that hard really. All that is required of you is a basic knowledge of how graphic editing software works, programs like Adobe Photoshop or any other you like.


So here is what the process would look like:

1.     You need to come up with an idea, a design for your cover. You can find the great deal of inspiration browsing through the covers of the books that are already published. On Goodreads.com you can find lists dedicated to finding out the best covers there are. Here for example https://www.goodreads.com/list/show/32194.Covers_That_Pop_For_2013#18751458


And remember that the cover should be informative and give a reader a basic suggestion of what the book is going to be about. Don’t be abstract. Some abstract images on the internet are easy to find and they look nice but they give no information about the book whatsoever. Try to be specific and find the details in your book that deserve to be visually highlighted on the cover.

You can always come up with a couple of ideas and do both and select the best one later. Don’t rush the process.

2.     Once you have an idea in your head it might be helpful to draw it on paper first. Let it be crude and rough around the edges. It’s just the sketch for your own reference.

Then you’re gonna have to browse through the stock photos and find ones that have the elements that are going to be present on your cover. You can find images that are free to use on sites like this… http://www.morguefile.com/   Or just google stock photos and the name of the element that should be on one of them, i.e. stock photo trees and branches.

You can always photograph something yourself but be sure you know at least something about the angles and the lighting. Hard shadows and soft shadows might create a completely different look, emotionally that is, so be sure you know at least something about how photography works.

3.     If you want a character from the book to be depicted on your cover then you might consider creating a 3D person using software like Poser Pro or DAZ studio. It might take you some time to learn how to work those programs but it’s gonna be worth the while.


Again, you can feature one of your friends or family member on your cover, if you get them to agree to that, and photograph them against some plain solidly-covered surface, i.e. white wall in case you want to change the background later. But again be sure you know what you’re doing with that camera.

Soft shadows (left) vs Hard shadows (right)

4.     Once you’ve collected all the pieces and images in one place on your computer it’s time to put them together in Photoshop or any other program that allows you to work with layers.

Background starry layer + planets

+ gradient layer + text layer

All the layers together


Working with layers allows you to create the background and cut out the needed elements from other images and put them together against that background. Cutting something particular out of the image can be done with Magic Lasso tool in Photoshop or if you need to say replace the sky or the plain background you will need to use the keying. If you don’t know how that is done you can find plenty of tutorial videos on YouTube which will guide you step-by-step. Like this one http://youtu.be/mA1ii3to4AE

5.     The important thing that comes next is finding the good font for your title and your name. You want it to be distinctive and Times New Roman or Ariel won’t do. So go to one of these sites http://www.1001freefonts.com/ and download some awesome fonts for free. These babies will really make your title pop out.


6.     Then, once you’ve put all the elements together and you’ve moved them around and found the perfect balance, it’s time to finalize it and export you picture as PNG or BMP file and then open it again in the Photoshop to add effects.

You might also have skipped through the first five steps and photographed the image that you believe doesn’t need any alterations. Well, good for you. Take that image and add some effects to it to make it look even better.

Photoshop has a number of its own effects but if you want something fast and professional-looking you might wanna download the plug-ins like Alien Skin Exposure or Snap Art or Eye Candy. These ones are great and they have a trial period. So does Photoshop itself so you might not need even to buy any of them.

Alien Skin Exposure

These plug-ins allow you to add some professional-looking effects like texture and dust and scratches and you can apply color filters that will make all the pieces of your collage look very much together and as one piece of art.

You can also process and add effects to your image online and for free using one of these sites http://www.fotor.com/features/photo-effects.html

That is about it, and don’t forget that you should be making your image at 300dpi so that it is good for printing. Watch this video to see what that means http://www.youtube.com/watch?v=K4LRaFxZZvI


So it wasn’t that hard was it? In any case, you will at least have an alternative to what the art department guys offer you. You might like your cover much better. Or your image might provide the reference for them and they will build upon your idea instead of coming up with their own. They won’t listen to you if you will be trying to explain your idea with words but they might look at your image and see the appeal for themselves.

So I think it’s worth trying and for some of us, authors who have to self-publish their books, creating a cover themselves is the only option.

Send me your covers via email (perie_wolford @ yahoo.com) and I will tweet them and show them to my followers.

I hope I helped.

Yours,
Perie